about
About Us

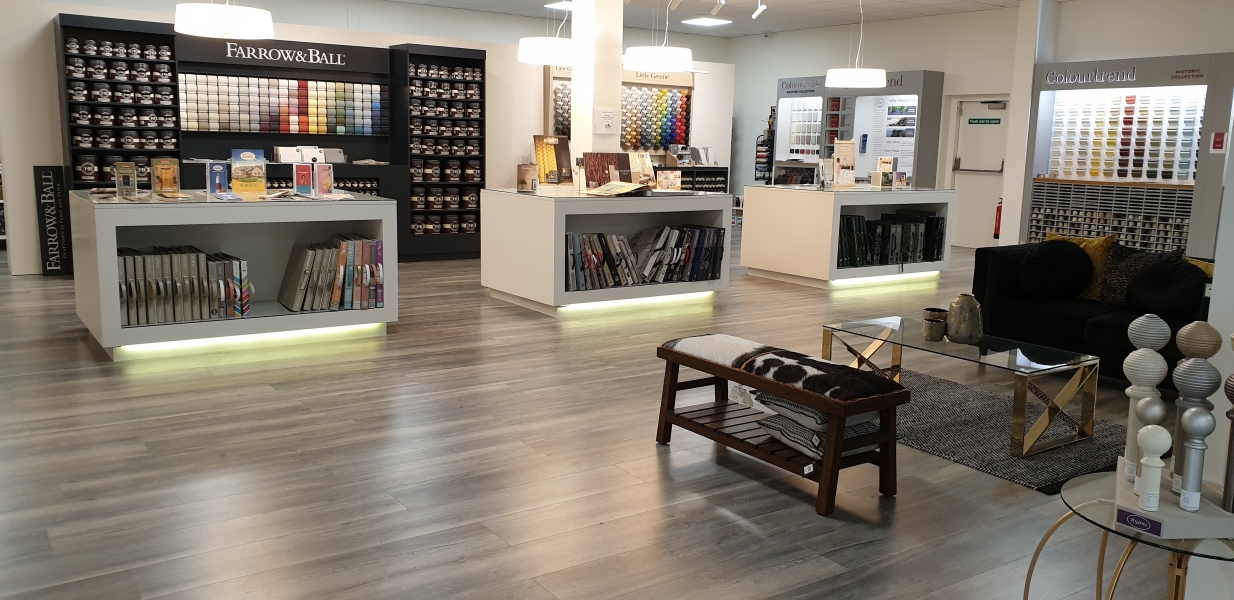
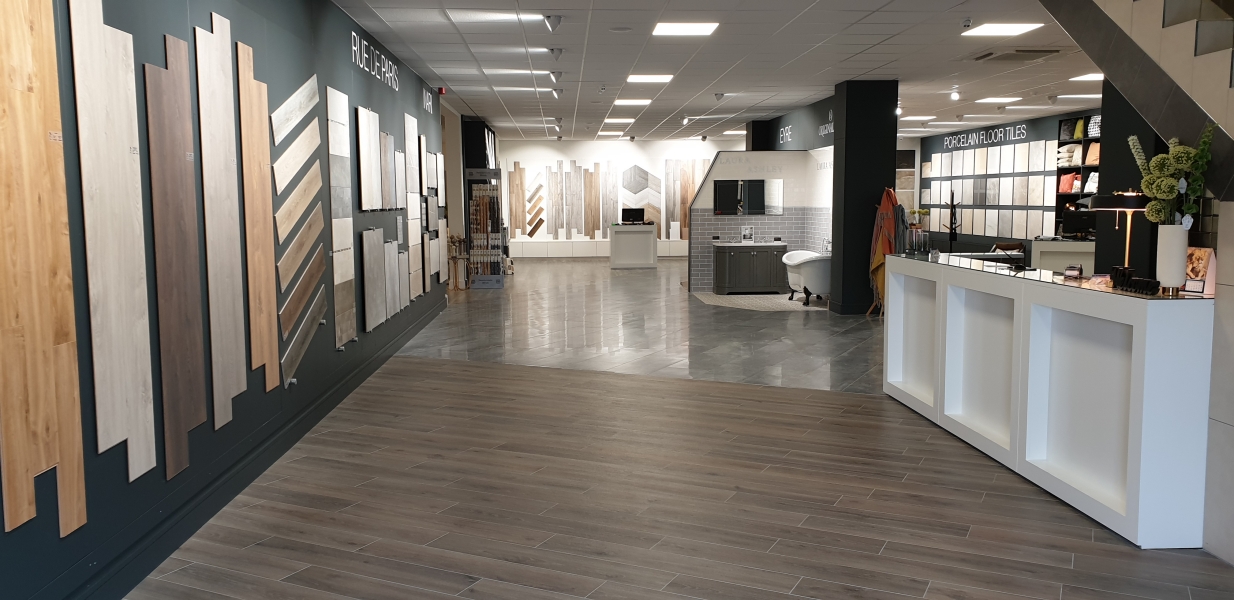
JMR House to Home Centre is a one stop Home Improvement shop. We cover all your Tiling, Timber Flooring, Bathroom Ware, Paint & Decor and Home Interior needs. We have spent nearly two decades building a business which strives to match keen pricing with excellent, friendly service.
Over the years we have built up vast experience. We've supplied and fitted Tiles and Timber Flooring in 1000's of homes and businesses throughout Munster. We have been steadily expanding our product range and showroom over the last several years. This now includes Bathroom Ware, a dedicated Paint & Decor Department as well as our newest addition, our Home Interior Department.
So are you a DIY enthusiast looking to freshen up a room with new Paint and Wallpaper? Or maybe you have a full house you want us to Tile. We have you covered for every job, big or small, supply or fit.
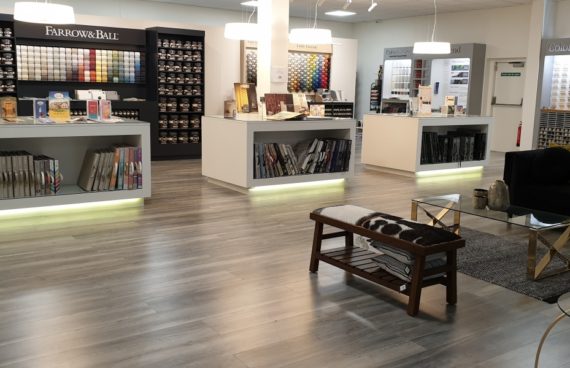
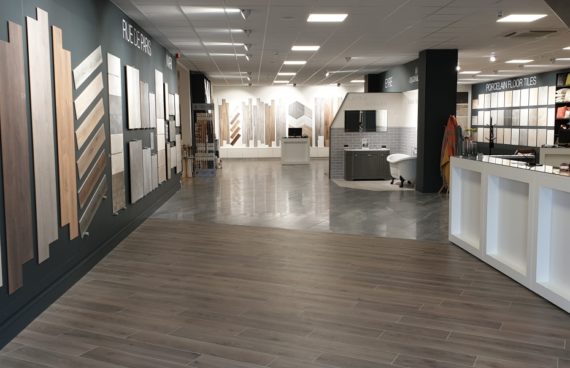
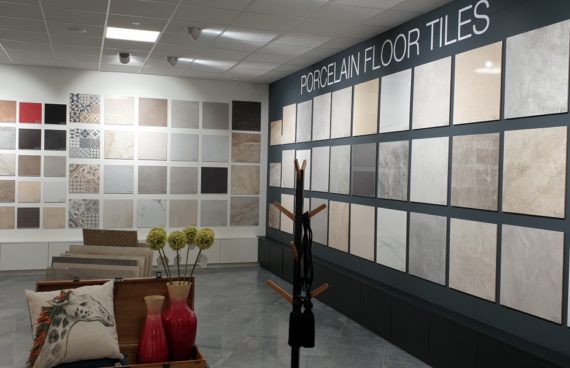
Call in to us at Munster's finest Showrooms in Mallow, Co. Cork where we have ample free parking so you can take your time browsing or shop & collect.
Our Service includes:
- Professional Fitting Service
- Free Home Delivery or on the spot Collection
- Appointments and consultations with our experienced interior designers
- Free Quotations & Samples
- Free Tea & Coffee while Browsing
Bathroom Tiling
Bathroom tiling- all the information you need before getting started. You can take on the job yourself or hire us to take care of it for you. If you have any additional questions don’t hesitate to contact us.
Bathroom Tiling Basics
Layout
This is the first and most basic decision. There are several factors to consider.
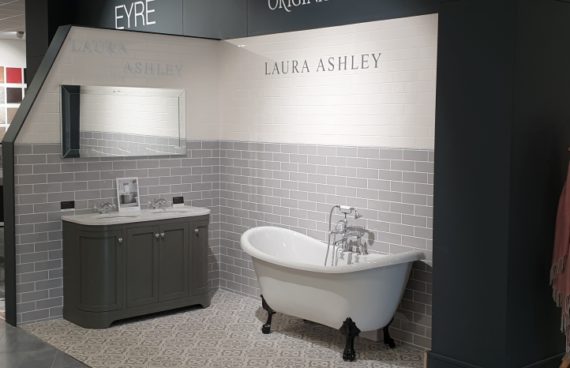
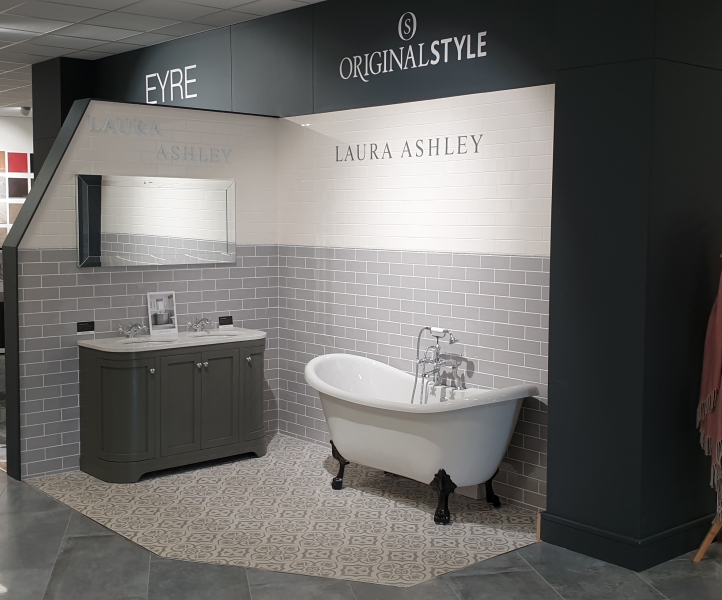
If you have a large bathroom, a free standing bath can be a great feature. Tiling part of the wall behind the bath in a different colour or with mosaic creates a stunning focal point in the room.
The traditional layout with a combined shower/bath is great for a mid sized bathroom. By adding a glass bath screen you have the versatility of a shower and bath without needing the extra space for a standalone shower.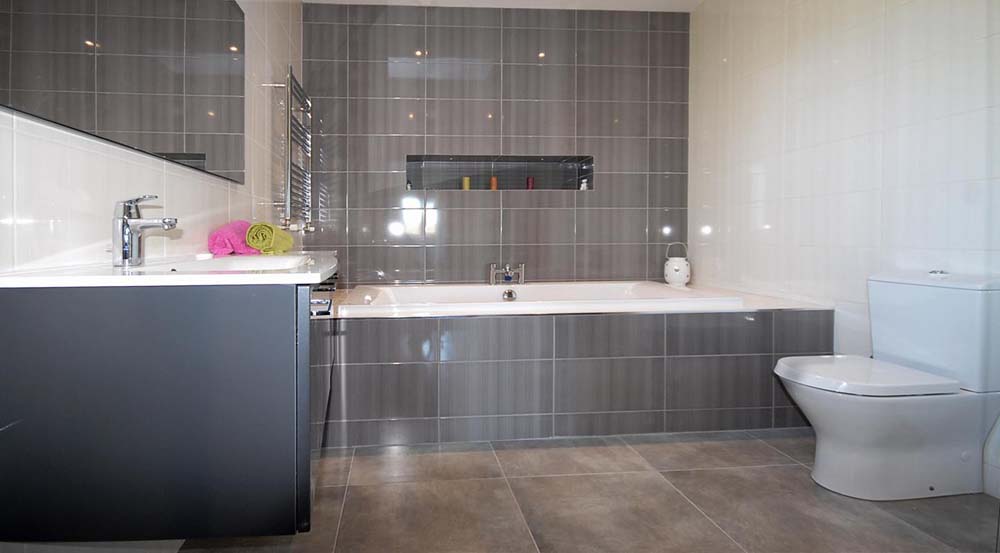
This layout reduces the amount of wall and floor tiles needed. It is essential to tile the walls around a bath. This prevents water from damaging your walls. This is a priority even if you don't tile the rest of the walls.
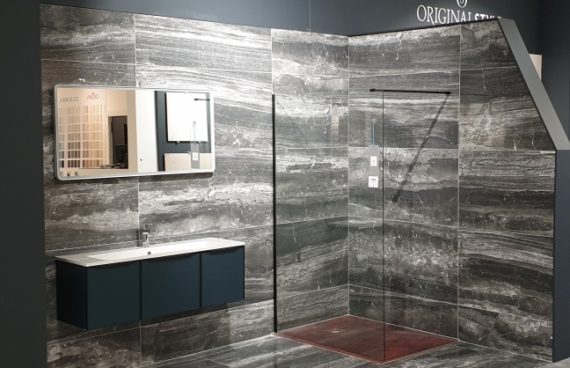
The most common bathroom layout today is a bathroom with a 2 walled shower. This makes the most of the available space and can be an open airy option. Glass shower enclosures reduce the impact of the shower in the room. Using a different colour tile or mosaic on the walls inside the shower is an easy way of creating a bathroom feature.
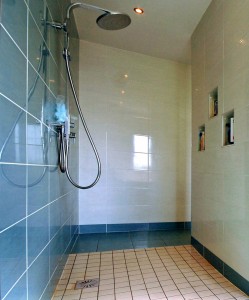
Wet Rooms are the most effective way of using space in a small bathroom.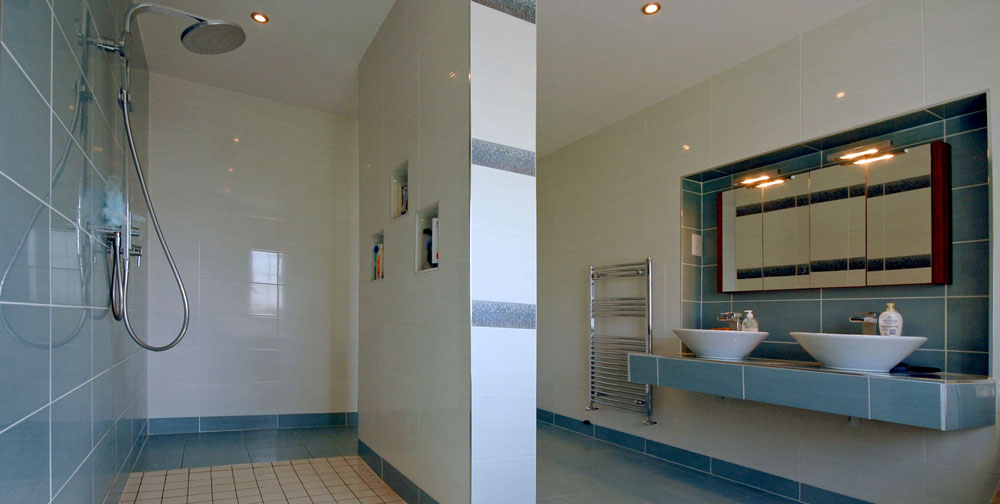 Mosaic tiles or our River Pebble Stone sheets can be used in place of a shower tray. A non-slip tile should be used on the floor. Wet rooms are especially popular as a way to eliminate the risk of trips and falls. HSE grants to retrofit bathrooms for the elderly require a wet room be installed.
Tiled Finish
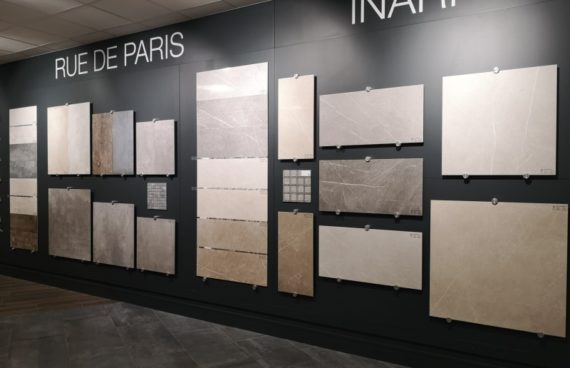
The choice of finish depends largely on the traffic level and your budget. Ceramic tiles are the most commonly used and the most affordable. We only use high quality ceramic tiles and they are suitable for most bathroom tiling projects
Marble Tiles are a stunning finish in any bathroom. Unlike other tiles however, most marble requires yearly maintenance. Marble is a porous natural stone and needs to be sealed. The tiles need to be re-sealed at least yearly depending on the amount of traffic.
Porcelain tiles are the most durable and hard wearing finish. They are an ideal floor tile that will last a lifetime. It is now almost impossible to see the difference between marble and high end porcelain, once fitted. Porcelain is so hard wearing that it is difficult to drill. This should be kept in mind if you plan on using porcelain tiles on your walls.
Colour & Design
There is no right or wrong colour or design. Its your bathroom and will last for years. Whats important is that you choose something you like.There are some things worth keeping in mind however.
In bathrooms with very little natural light you want to pick tiles that wont make the room seem darker. Light colours, like cream's and whites, will help to make a room seem brighter. A gloss finished tile can also help to spread the light.
Using tiles in a brick effect pattern will need more cuts. This will mean increased tile wastage.
When bathroom tiling, using larger tiles is an easy way to make a room seem bigger. Very large tiles however, will need a near perfect surface to tile on. This can increase the amount of adhesive or levelling compound needed.
Most wall tiles are rectangular and layed vertically. A simple way of making a feature behind a sink or shower, is to fit 1 or 2 rows horizontally. Using a different colour tile for this will make it stand out even more.
Borders
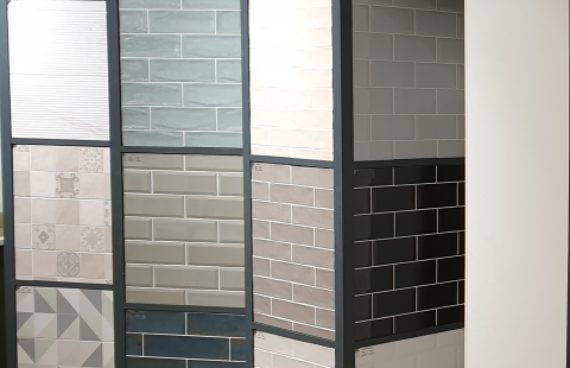
The design options when using borders are nearly endless. There are hundreds of different glass, ceramic or marble borders in a wide range of colours and designs. People regularly use a neutral coloured bathroom tile. Borders are then used to bring colour into the room.
Call In to Us
For any other issues or queries about bathroom tiling call into our premises in Mallow, Co. Cork. Our experienced staff will be able to address any issues you have as well as arrange fitting if needed.
Floor Tiling
Floor tiling- all the information you need before getting started. You can take on the job yourself or hire us to take care of it for you. If you have any additional questions don't hesitate to contact us.
Surface preparation
Tiles can be fixed to most floors. Before you start floor tiling make sure the surface is ready for tiles. The surface must be suitably level, sound and free of loose material. The surface should also be clean, dry and free of dust or grease. Once floors are correctly cleaned, prime with an acrylic primer and leave to dry before tiling.
Sand and Cement Screeds
New concrete floors must be allowed dry for at lest 6 weeks. More drying time may be needed, depending on weather and site conditions.
A new screed may shrink as it dries and this can cause cracks across the floor. If tiles are fixed before it is dry and cracking does occur it is likely that the cracks will appear across the tiles as well. Make sure the floor is dry and stable before any tiling starts.
Bumps and Hollows
Where there are excessive bumps or hollows in the sub floor, levelling compound might be needed. Check your tile adhesive packaging first. Many adhesives can be used up to a depth of 10mm in isolated areas. If the floor does need to be levelled we recommend using a good Latex Levelling Compound.
If there are very high humps in the floor, these will need to be removed. Use a Kango hammer or hire a Scrabbler to cover a bigger area.
Floor tiling with larger floor tiles such as 60x60 is less forgiving and will need a smoother surface.
Timber floors
The floor should be rigid, non-flexing and stable enough to bear the extra weight.
Ply-wood floors are very prone to movement. To restrict this movement its best to lay a 2nd layer of plywood on top. The 2nd layer should be lay'ed running in the opposite direction to the 1st layer. Make sure the floor is very heavily screwed down. Flexible adhesive and grout must be used when tiling on timber floors.
Vinyl Sheet and Floor Tiles
Any existing vinyl flooring or floor tiles must be very secure. Check to make sure the vinyl is glued fully and not just around the edges. Make sure any old tiles are not hollow underneath. Thoroughly clean the floor to remove anything such as oil, wax and grease, using an appropriate cleaner. Flexible adhesive must be used when tiling onto vinyl or tiles. If the vinyl or tiles are not secure they will have to be removed.
Damp
Before tiling, damp of any kind should be treated and the source removed. Talk to a specialist if any doubt exists.
Finished Floor Level
The new finished floor will be raised by the thickness of the tile and adhesive. This can cause a height difference at doors where your new floor meets existing floors. Solid timber or brass/chrome ramp strips are usually used to bridge the height difference.
Under Floor Heating
Our floor tiles can be used over most under floor heating systems. The heating should be commissioned before tiling and switched on for two weeks. The heating should then be switched off during tiling and for at least 14 days after tiling. After 14 days, the heating can be turned on or increased at a rate of 2°C per day to the maximum temperature of 20°C.
Flexible adhesive and grouts must be used with under floor heating. An expansion gap should be left around all perimeters.
 Wet Floors

All wet floor areas should be tanked using a tanking system before tiling. Please refer to our Waterproofing Showers and Bathrooms Installation Guide for further advice.
Hearths and Fireplaces
Care should be taken when tiling into hearths or fire surrounds. Make sure the tiles are kept at least 300mm away from contact with the flames or the main heat source. Not all tiles are suitable for use in this area. Please check with our sales team before picking a tile.
Grout Joints
It is important to have a joint between tiles to allow for movement in the structure. The width of grout joints will vary between 2–20mm. Large joints will be necessary on rustic tiles such as terracotta and slate. Between 3-5 mm is the most common size grout joint. In the end the size of the joint comes down to personal choice.
Mosaic tiles - Make sure the sheets of mosaic are spaced so that no individual sheets can be distinguished after grouting.
Expansion Joints
Expansion Joints may be required in very large floors. They could also be needed when continuing tiling into multiple rooms. Several other factors can also require expansion joints. As a general guide, do not tile continuously over areas with a length of over 5 meters. Fit an expansion joint to prevent stress building up in the floor. To find out more contact us.
Tile Fixing
Its's best to mix up the tiles as you fit them. Many ranges have variations in pattern to create a natural look. Mixing up the tiles helps to create a random pattern.
Its tempting to save money by getting cheap or unsuitable adhesive or grout. Don't! People go to the trouble of buying high quality tiles that will last for years and years. The adhesive wont ever be seen and is often seen as an easy place to cut back.
We often get called on to re-do a job after somebody else. We have had countless customers whose tiles have lifted from the floor. The tiles are usually not re-useable, with the old adhesive stuck to the back of the tile. Its not worth the risk and cost of having to buy new tiles and adhesive for your floor. Your tiles are only as good as the adhesive underneath them.
Mixing
Carefully follow the mixing instructions on the back of the adhesive bag. Don't mix more than you can use before it sets. Keep in mind that adhesive sets faster in warmer weather.
 Application
It is very important to plan ahead. Decide the pattern you want the tiles lay'ed in. Diamond and brick-effect are much slower to tile and create more waste with extra cuts. Take into account how the finished floor will look. If a hall is less than three tiles wide its better to have a full tile in the middle with the outer tiles cut. If you are carrying tiling into more than one room, think how the row of tiles will look when continued into the 2nd room. Use this to decide where to start tiling.
Start by marking a line along the centre of the floor. Now you must decide if you wont to centre your tiles on this line or tile either side of the line. This would leave a grout joint running along the centre of the room and is the most common method. Its important avoid a very thin piece of cut tile around the perimeter of the room. Avoid this by laying out your tiles without adhesive first to see how it will look.
Start tiling in the centre of the room if you can. Its best to fit all the full tiles first. When these have set you can then go around the perimeter of the room and fit the cut tiles to complete the floor.
Spread the adhesive using a notched trowel. A 10mm trowel is normally used for floor tiling. The adhesive should be applied to the surface to form parallel lines. Spread only enough adhesive that remains workable. We would recommend an area of approximately 1 square meter at a time. Stone or glass tiles are normally fixed with white adhesive to prevent the colour of the adhesive 'bleeding' through.
Push the tile home firmly with a slight twisting movement. Place the next tile beside the first, using spacers at the corners to allow for the grout joint.
All the tiles should be soundly bedded in the adhesive without any space underneath. Be careful not to allow any adhesive onto the surface of the tiles or the joints between the tiles. Wipe away any excess adhesive. Once the adhesive is dry the remaining perimeter area can be prepared and cut tiles lay'ed.
 Cutting
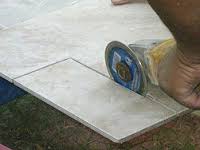
It is essential to wear suitable protective clothing and goggles when cutting tiles. Tiles can be cut using a standard tile cutter or an angle grinder. Use an angle grinder when the cut needed is not a straight line or the tile material is too hard to cut in a tile cutter.
Porcelain tiles require high quality diamond blades for cutting.
When using an angle grinder, mark the tile where you wish to cut it. Run the cutting disc along the marked surface cutting the tile to at least two thirds of its depth. The tile can then be snapped. Rough edges and chips should be smoothed and finished with a sanding block.
Sealing
Natural Stone or any other porous tiles need to be sealed after fitting. This stops the tiles from absorbing liquids and staining. Its best practice to seal tiles before and after grouting. Before you start sealing, make sure you have read the instructions on the bottle. If you have any questions please contact us.
Some sealants will enhance the colour of your tiles and others will maintain the natural colour. It is important you are sure the sealant you have purchased will achieve the desired results. If in doubt, seal a single tile first.
All tiles must be clean and dry before sealing otherwise you may seal in dirt or moisture. The process of sealing should be kept very clean and all materials including brushes and cloths etc should be new and unused.
 Grouting
Make sure you use a good quality grout that's suitable for your job. If your adhesive needs to be flexible, so does your grout. Mould resistant grout should be used in bathrooms.
Wall tiling grout is suitable for grout joints from1-5mm and our floor grout is suitable for grout joints from 2-20mm. Before proceeding with your grouting, please ensure you have checked the colour of your grout against your chosen tile.
Preparation
Before grouting the adhesive should be fully cured. The grout joints should be clean, dry and free from adhesive and loose debris. Fast-set adhesive usually cures in 3-5 hours. Standard-set adhesive normally takes 16-24 hours to cure. The depth of adhesive and the room temperature will affect the drying time.
Porous tiles should be sealed before grouting (see specific instructions for you selected tile).
Very strong dark grout should not be used with light coloured tiles. A black grout could bleed through the edges of a light cream or white tile. This can cause permanent dark patches on the tile which cant be removed. Always test a small area of tiles prior to grouting the entire area.
Mixing
Carefully follow the mixing instructions on the back of the bag. Make sure not to add too much water. It's very easy to go from too dry a mixture to a very wet mixture by adding just a small amount of water. Don't mix more than you can use before it sets. Keep in mind that grout sets faster in warmer weather.
 Application
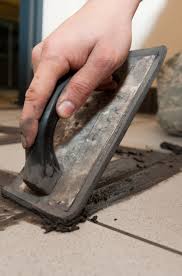
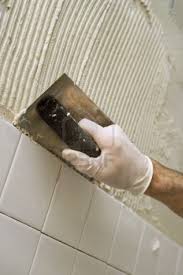
The grout needs to be pressed into the grout joints and surface pits of the tile with a grout float. Take care to fully compress the grout into the full depth of the grout joints. This ensures that the joints are fully filled so no air pockets exist.
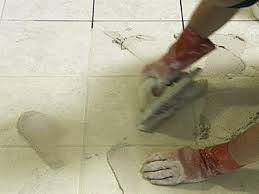
Work in small manageable areas. Clean off any excess grout when the grout has begun to firm up in the joints, but before it sets on the tile surface. Clean with a damp, fine textured foam sponge. Make sure the sponge is not too wet. Don't over wash the grout as this can discolour the grout. Finish grouting in one continuous sequence to avoid colour variation. Changing the cleaning water as it becomes very dirty will also help cleaning. When the grout has set, any remaining grout can be polished off the surface with a clean, damp cloth. Use a dry cloth to remove any dust still on the surface.
Perimeter joints where floor tiles meet wall tiles and at corners where wall tiles meet, must not be grouted. Instead they should be filled with a good quality silicone. This will allow for expansion and contraction in the tiles.
Please note a neutral cure silicone is recommended for all natural stone.
Call In to Us
We carry all primers, adhesives, grouts and sealers to complete any job in stock. For any other issues or queries about floor tiling call into our premises in Mallow, Co. Cork. Our experienced staff will be able to address any issues you have aswell as arrange fitting if needed.
Wall Tiling
Wall tiling- all the information you need before getting started. You can take on the job yourself or hire us to take care of it for you. If you have any additional questions don't hesitate to contact us.
Surface Preparation
Tiles can be fixed to most walls. Before you start wall tiling the surface must be properly prepared. It should be suitably level, dry, and free of dust, grease or any loose material. All surfaces must be completely secure and capable of carrying the extra load.
Special care must be taken when tiling areas which may become damp or wet. Our tanking system should be used in these areas. Please ask our sales staff for advice.
Plaster (Gypsum) Skimmed Walls
New plaster should be allowed to dry for at least four weeks before tiling. All plaster surfaces should be primed with acrylic primer and left to dry before tiling.
 Plasterboard
Plasterboard can be tiled over once it is firmly braced and fixed. Check for any bulging or sinking in the boards. Make sure the lips between boards are flush. Plasterboard must be primed with acrylic primer and left to dry before tiling.
Timber
Timber should be WBP plywood. All timber must be dry, firmly braced and fixed.
There should be no bulging or sinking in any of the boards. Seal the back, front, and edges of the timber with primer. It is important to prime the back and the edges of the boards. Particularly in a wet area this avoids the boards swelling and warping due to water ingress. The primer must be completely dry before tiling.
Existing Tiles
Tiles often provide a good base for tiling as long as they are flat and in good condition. Make sure they are completely clean and firmly fixed to the wall. Any damaged or loose areas should be repaired. Check what kind of surface the existing tiles are fixed too. It will have to take the weight of the new tiles you are adding on top. Apply P4 Ardex Primer 24 hours before tiling. This surface primer forms a key for the tile adhesive to bond to.
Rendered Walls
Sand and cement renders (pre-plaster scratch coat) are an ideal base for wall tiling. New
render must be at least 14 days old or suitably dry, before tiling. Dusty surfaces must be thoroughly dry brushed. Porous renders must be primed with acrylic primer and left to dry before tiling.
Un-rendered Walls
Wall tiling directly onto bricks and blocks is possible. However they must be flat enough to receive the tiled finish. Block-work must be primed with acrylic primer and left to dry before tiling.
Papered and Painted Walls
JMR does not recommend tiling onto papered and painted surfaces. These should be completely removed.
Where paint cannot be completely removed, the paint should be heavily scored. Use a sharp stanley knife or other sharp object to expose as much bare plaster as possible. After scoring, any chipping or loose paint should be completely removed with a paint scraper. The surface should then be primed with acrylic primer and left to dry before tiling.
Showers
Extra care must be exercised when tiling domestic showers. Showers should not be used for at least 14 days after tiling. We recommend that all showers be tanked prior to tiling using our recommended tanking/shower proofing system.
Fixing
Its's best to mix up the tiles as you fit them. Many ranges have variations in pattern to create a natural look. Mixing up the tiles helps to create a random pattern.
Its tempting to save money by getting cheap or unsuitable adhesive or grout. Don’t! People go to the trouble of buying high quality tiles that will last for years and years. The adhesive wont ever be seen and is often seen as an easy place to cut back.
We often get called on to re-do a job after somebody else. We have had countless customers whose tiles are falling off the wall. The tiles are usually not re-useable, with the old adhesive stuck to the back of the tile. Its not worth the risk and cost of having to re-tile your bathroom. Your tiles are only as good as the adhesive underneath them.
You should use wall tile adhesive that is cement based and flexible. It should also be water resistant. Call in to us in Mallow, North Cork were we carry a full range of grouts and adhesives for all surface conditions and tile types. We keep our prices low without stocking cheap unsuitable products.
Mixing
Carefully follow the mixing instructions on the back of the adhesive bag. Don't mix more than you can use before it sets. Keep in mind that adhesive sets faster in warmer weather.
 Application
Before beginning wall tiling it is important to plan ahead. You want to end up with the top and bottom row of tiles on the wall being the same size. You don't want a full tile on the bottom with only a small sliver of cut tile on the top. This can happen when you start tiling from the ground with a full tile. After you have worked out the size of the top and bottom cut you are ready to begin. For now leave the bottom row of tiles off. Instead fix a timber batten to the walls as support for the 2nd row of tiles to sit on.
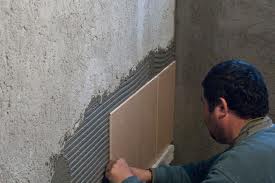
We recommend using a 6mm-8mm trowel when wall tiling. Spread only enough adhesive that remains workable. We would recommend an area of approximately 1 square meter. The adhesive should completely cover the area. A layer between 2-6mm thick should be applied.
Place the 1st tile in the corner formed by the timber battens. Push the tile home firmly with a slight twisting action. Place the 2nd tile next to the first, using spacers to allow for a grout joint. Continue on, sideways and upwards over the prepared area.
Ensure your tiles are installed flat and level.
Complete the wall using whole tiles and allow the adhesive to set. Now remove the timber battens and tile the top and bottom rows with cut tiles.
Watch this video to see how batons are used for wall tiling.
Fixing Glass Tiles and Mosaics
Some glass tiles can be very transparent. Because of this there are important extra steps to follow.
There can be no gaps in the adhesive coverage behind the glass. Otherwise any colour difference between the adhesive and the wall behind it would effect the finished look.
Using a 4mm notched trowel, spread the adhesive onto the wall. Use firm pressure to make sure of good contact and that a uniform coat is applied.
The tiles can now be pressed firmly into the adhesive. With mosaics it is important that individual sheets can not be distinguished.
Using a flat grouting trowel tap the mosaic into place. This will give an even finish to the face of the mosaic. Make sure that the gaps in the mosaic are not filled with adhesive.
Cutting
It is essential to wear suitable protective clothing and goggles when cutting tiles. Tiles can be cut using a standard tile cutter or an angle grinder. Use an angle grinder when the cut needed is not a straight line or the tile material is too hard to cut in a tile cutter.
Porcelain tiles require high quality diamond blades for cutting.
When using an angle grinder, mark the tile where you wish to cut it. Run the cutting disc along the marked surface cutting the tile to at least two thirds of its depth. The tile can then be snapped. Rough edges and chips should be smoothed and finished with a sanding block.
Grouting
Check out the grouting section of our floor tiling page for all grouting information.
Call In to Us
We carry all primers, adhesives, grouts and sealers to complete any job in stock. For any other issues or queries about wall tiling call into our premises in Mallow, Co. Cork. Our experienced staff will be able to address any issues you have aswell as arrange fitting if needed.
Timber Flooring
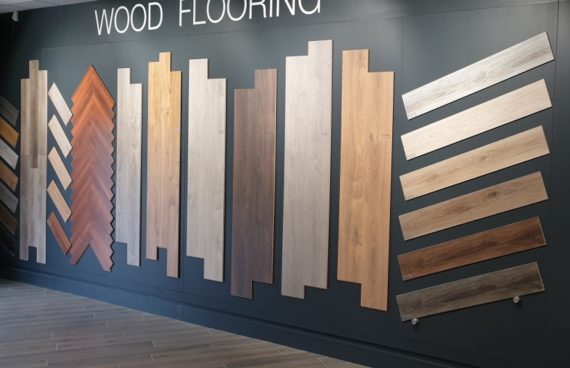
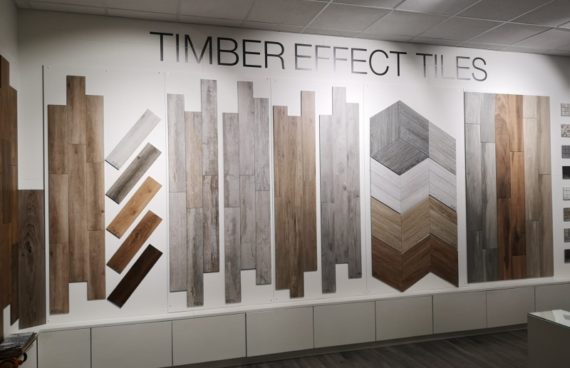
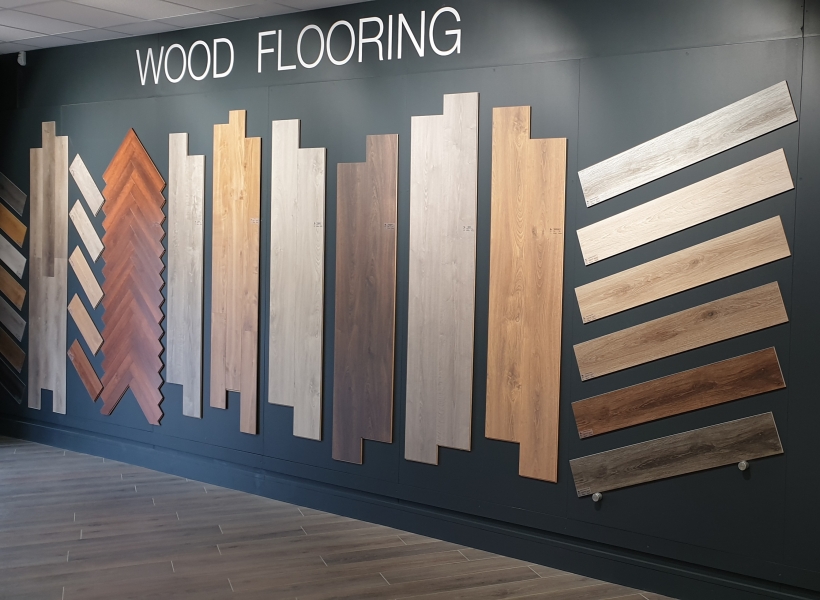
Timber flooring - Everything you need to know before picking out your new floor.
You should think of the type of timber flooring that will suit your needs. High traffic areas like halls and kitchens need a stronger, more durable product.
All solid, semi solid and engineered wood flooring is prone to scratching. A high quality commercial laminate will prove far more durable. It will withstand scratching and marking far better.
Timber flooring is not suitable in a room where there are water spillages or splashes. This can create moisture in the wood, which can cause movement, expansion or cupping.
Bumps and Hollows
Where there are excessive bumps or hollows in the sub floor, levelling compound will be needed.These can result in a bounce in your finished floor. If the floor does need to be levelled we recommend using a good Latex Levelling Compound.
If there are very high humps in the floor, these will need to be removed. Use a Kango hammer or hire a Scrabbler to cover a bigger area.
Fitting
It is vital to get the right advice when you are fitting a new floor in:
- High Moisture Areas
- Heavy Traffic Areas
- Areas with Underfloor Heating
Wood flooring can be fitted in different ways:
- Gluing directly to the sub-floor
- Floating your new floor on an acoustic underlay
- Nailing to under floor joists / or plywood
When fitting your new floor be sure to use the right method for your needs. If your home has underfloor heating you will need to get advice on the type of wood and fitting suitable for your system. If in doubt contact our staff for help.
All timber flooring should be left in the room, unopened in the pack, for at least 7 days before fitting. This prevents warping later on.Ideally a moisture check should be carried out on your floor before fitting.
There will be variations in pattern and colour in all timber flooring. Be sure to mix up all the timber boards as the floor is being fitted. This ensures a random pattern
 Underlay

We recommend that you use the best quality underlay that you can afford. Acoustic Underlay helps to reduce impact noises. These are commonly made by objects falling and by shoes when walking on the floor. Better quality underlay'es also have moisture barriers as standard.
On Concrete Floors
We recommend you use an acoustic sound proofing underlay with a moisture barrier. This helps to prevent moisture coming up from the sub-floor. Moisture can cause timber to swell and warp.
Underfloor Heating
You should take care to choose the proper underlay to suit your heating system. You don't want to restrict heat coming through your floor.
Call In to Us
We carry all underlays and wood glue to complete any job in stock. For any other questions about timber flooring contact us or call into us in Mallow, Co. Cork. Our experienced staff will be able to address any issues you have or arrange fitting if needed.
Painting
We have extensive advice on painting, just pick the topic:
